To efficiently use the Autopsy ForensicVM plugin, it’s essential to initialize a new case within the Autopsy framework and then seamlessly integrate a new data source. Below, the comprehensive procedure is outlined:
Add a New Case to Autopsy
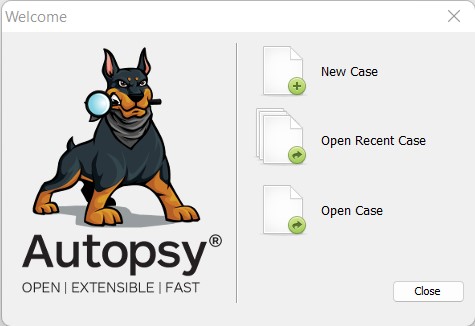
Initiate the Autopsy application and from the wizard interface, choose the option to add a new case. This is the first step in creating a structured environment for your forensic analysis.
Once the case addition window pops up, provide a unique and descriptive name for your case. This helps in distinguishing it from other cases in the future.
Here, you can include additional details about the case. While this is optional, it’s recommended to fill in as much information as possible for thorough documentation.
Decide on the host configuration for this case. You can either:
- Generate a new host using the data source parameters.
- Specify a new host name manually.
- Or, utilize an existing host from a previous case or configuration.
Select Data Source Type as “Disk Image or VM File”
Choose the type of data source you’re incorporating. For this procedure, select “term:Disk Image or VM File”, which allows Autopsy to process VM images and disk snapshots.
Select Extra Parameters Like Time Zone and Sector Size
Fine-tune your forensic analysis by selecting the relevant time zone and determining the sector size. These parameters help in accurate data extraction and interpretation.
Configure the Python Ingest Plugin to Run and Select the ForensicVM Client Plugin
Activate the Python Ingest Plugin for automated data ingestion. Also, ensure to select the ForensicVM Client plugin, which is pivotal for the VM forensic analysis.
Fig. 38 Configure the :term:Python`` Ingest Plugin
Monitor the Data Source Processing Progress
As the data gets processed, an intuitive progress bar displays the ongoing activities and the completion percentage. Keep an eye on this to gauge the processing speed and potential completion time.
The ForensicVM Loader will make a brief appearance. This indicates that the plugin is gearing up for execution. It will automatically close once the plugin is fully initialized.
Complete the Procedure and Minimize Autopsy Window
Click on the “Finish” button to round off the ‘Add Data Source’ wizard. For better visibility and multitasking, it’s advisable to minimize the main Autopsy window at this juncture.
Engage with the Autopsy ForensicVM Client Plugin Interface
Post the previous steps, the dedicated window for the Autopsy ForensicVM Client plugin will emerge. Here, you can conduct in-depth VM forensics using the myriad features offered by the plugin.