It is often necessary to take screenshots of the forensic virtual machine (forensicVM) for documentation, analysis, or reporting purposes. There are two primary ways to capture a screenshot, depending on your location within the system interface:
1) Capture Screenshot in the Main Autopsy Plugin Interface
To take a screenshot of the forensicVM from the main Autopsy plugin interface, please press the Screenshot button on the screenshot panel:
Fig. 82 Screenshot VM on the main Autopsy plugin interface
2) Capture Screenshot in the Web Screen Interface
Capturing a screenshot from the web screen interface is similarly straightforward:
Navigate to the web interface where the forensicVM is displayed. Expand the tools panel.
Locate the screenshot icon or use the appropriate key command within the web interface.
Press the camera icon to take a screenshot.
Fig. 83 Screenshot VM on the web screen interface
These methods enable you to capture visual records of the forensicVM from different points within the system, providing flexibility for various operational needs.
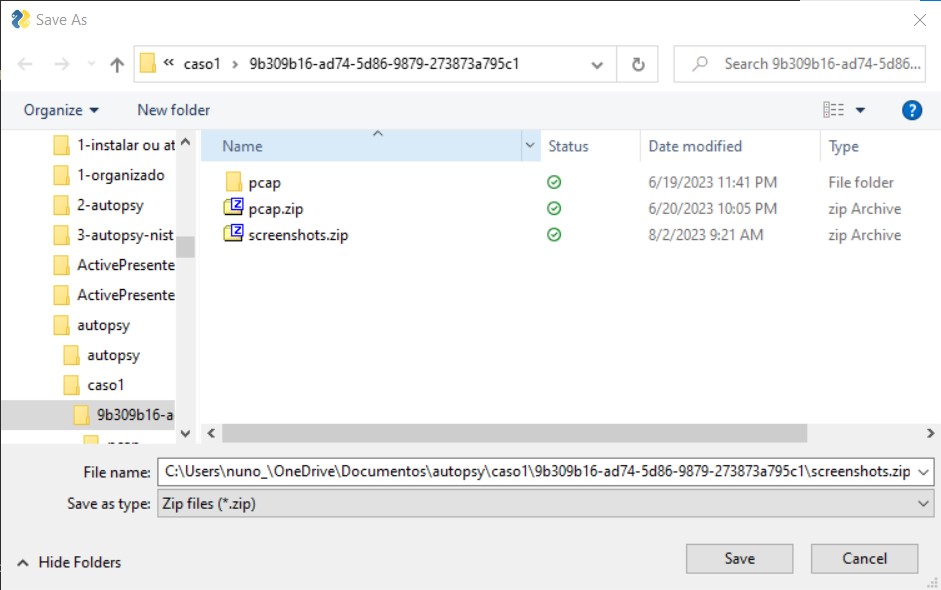
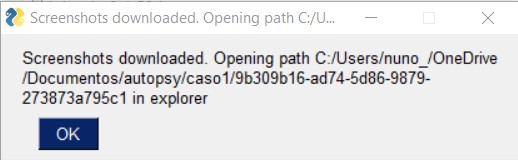
After capturing the necessary screenshots of the forensic virtual machine (forensicVM), you can download them all as a ZIP file. This process is done in four steps:
These steps ensure an efficient and organized process for downloading the captured screenshots of the forensicVM, making it convenient for further use or analysis.
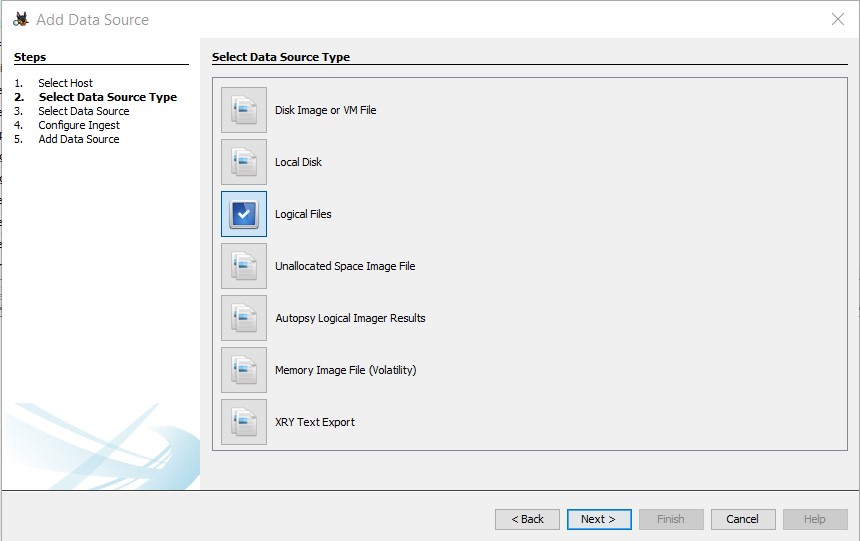
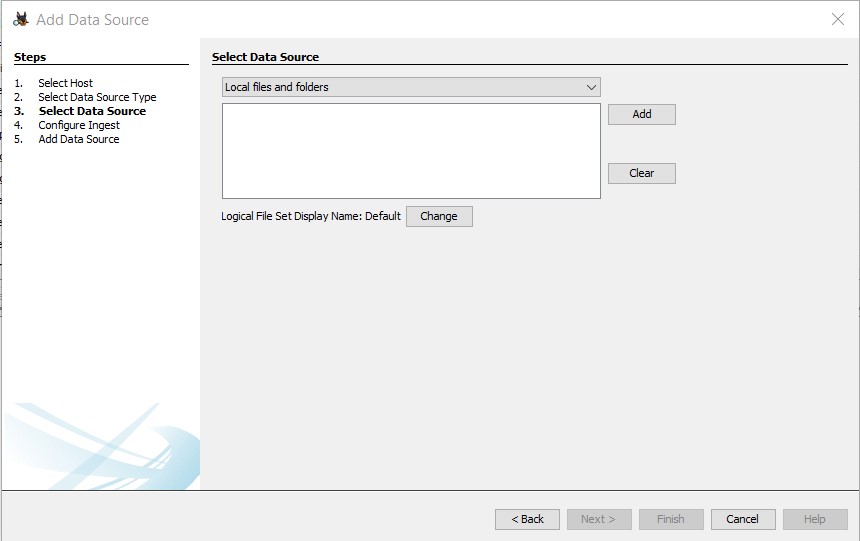
This step-by-step guide helps you efficiently import the screenshots from the forensic virtual machine into Autopsy software for in-depth analysis, enabling a streamlined workflow and enhancing your investigation process.
Note
Importance of Tagging Screenshots for Evidence
Tagging screenshots in Autopsy forensic software is a pivotal step in digital investigations. It allows forensic professionals to systematically identify, analyze, and report on crucial visual information. Tagged screenshots can be included in final reports, where they may be presented as potential evidence in legal proceedings. The process ensures the integrity of visual data and contributes significantly to building a solid case.
In the realm of digital forensics, Autopsy forensic software plays a crucial role in analyzing and managing evidence. A key feature of this powerful tool is its ability to handle screenshots, which are often vital in investigations.
Tagging Relevant Screenshots: With Autopsy, investigators can sift through various images and screenshots collected during the forensic analysis. If certain images are identified as potentially relevant to a case, they can be tagged for further scrutiny. This tagging function is more than a mere organizational tool; it’s a systematic way to highlight essential visual information that may prove crucial in understanding the digital activities related to a case.
How to Tag: Simply right-click on the desired screenshot and select the “Tag” option. You may create custom tags or use predefined ones, adding notes or comments as necessary. This flexibility ensures that you can organize your screenshots in a way that suits your specific investigative needs.
Inclusion in the Final Report: Tagged screenshots are not merely an intermediate step in the investigation. They often form an integral part of the final report. When compiling your findings, all tagged screenshot photos can be automatically included as potential evidence. They are presented in a well-organized manner, often alongside corresponding notes or observations made during the analysis phase.
How to Include in Report: Typically, there’s an option to include tagged items in the report generation process. Make sure to select this option to have all tagged screenshots appear in the final document.
Presenting as Evidence: The end report, including the tagged screenshots, can be used in legal proceedings as possible evidence. The organized and systematic way in which these images are handled, analyzed, and reported in Autopsy ensures their integrity and admissibility in a court of law.
In conclusion, the ability to tag relevant screenshots in Autopsy forensic software is not merely a feature but an essential process that enables precise analysis, reporting, and legal utilization of visual data. It allows forensic professionals to efficiently identify and focus on critical visual information, contributing to a more comprehensive and convincing presentation of evidence in any given case.