Recording video from a forensic virtual machine (VM) that was created from a forensic image is not just a technical procedure; it’s a crucial part of preserving and analyzing digital evidence in a meticulous and traceable manner. Below are the reasons why this approach is essential:
Immutable Record
When a virtual machine is created from a forensic image, it’s a snapshot of a system at a specific point in time. Recording a video of the interactions and findings within this VM provides an immutable and chronological record. It ensures that every action taken can be reviewed, analyzed, and presented, leaving no room for doubt or ambiguity.
Transparency and Accountability
The video serves as a transparent and detailed log of what was done during the investigation. This helps in maintaining the integrity of the process, proving that the examination was conducted ethically and without alteration of the original data. If questions arise later, the video can be referred back to, to demonstrate exactly what was done.
Legal Compliance
In legal scenarios, the chain of custody must be robust and without breaks. Video recordings from the forensic VM provide a visual and auditable trail that can be an integral part of court proceedings. They offer judges, lawyers, and juries a clear and understandable view of the digital evidence, often aiding in decisions.
Training and Collaboration
The videos are not only useful for the case at hand but can be utilized for training purposes. They offer a real-world insight into how a forensic examination is conducted, the tools used, and the methodologies followed. Furthermore, they facilitate collaboration between teams and experts, allowing them to review and discuss findings visually.
Error Detection
If mistakes are made during the investigation, video recordings enable forensic analysts to backtrack and understand where things went wrong. This can be vital for correcting errors and learning from them for future investigations.
Enhancing Public Trust
Lastly, the practice of recording video from forensic VMs can also contribute to enhancing public trust in digital forensic processes. It sends a strong signal that the work is conducted with utmost professionalism, thoroughness, and adherence to legal standards.
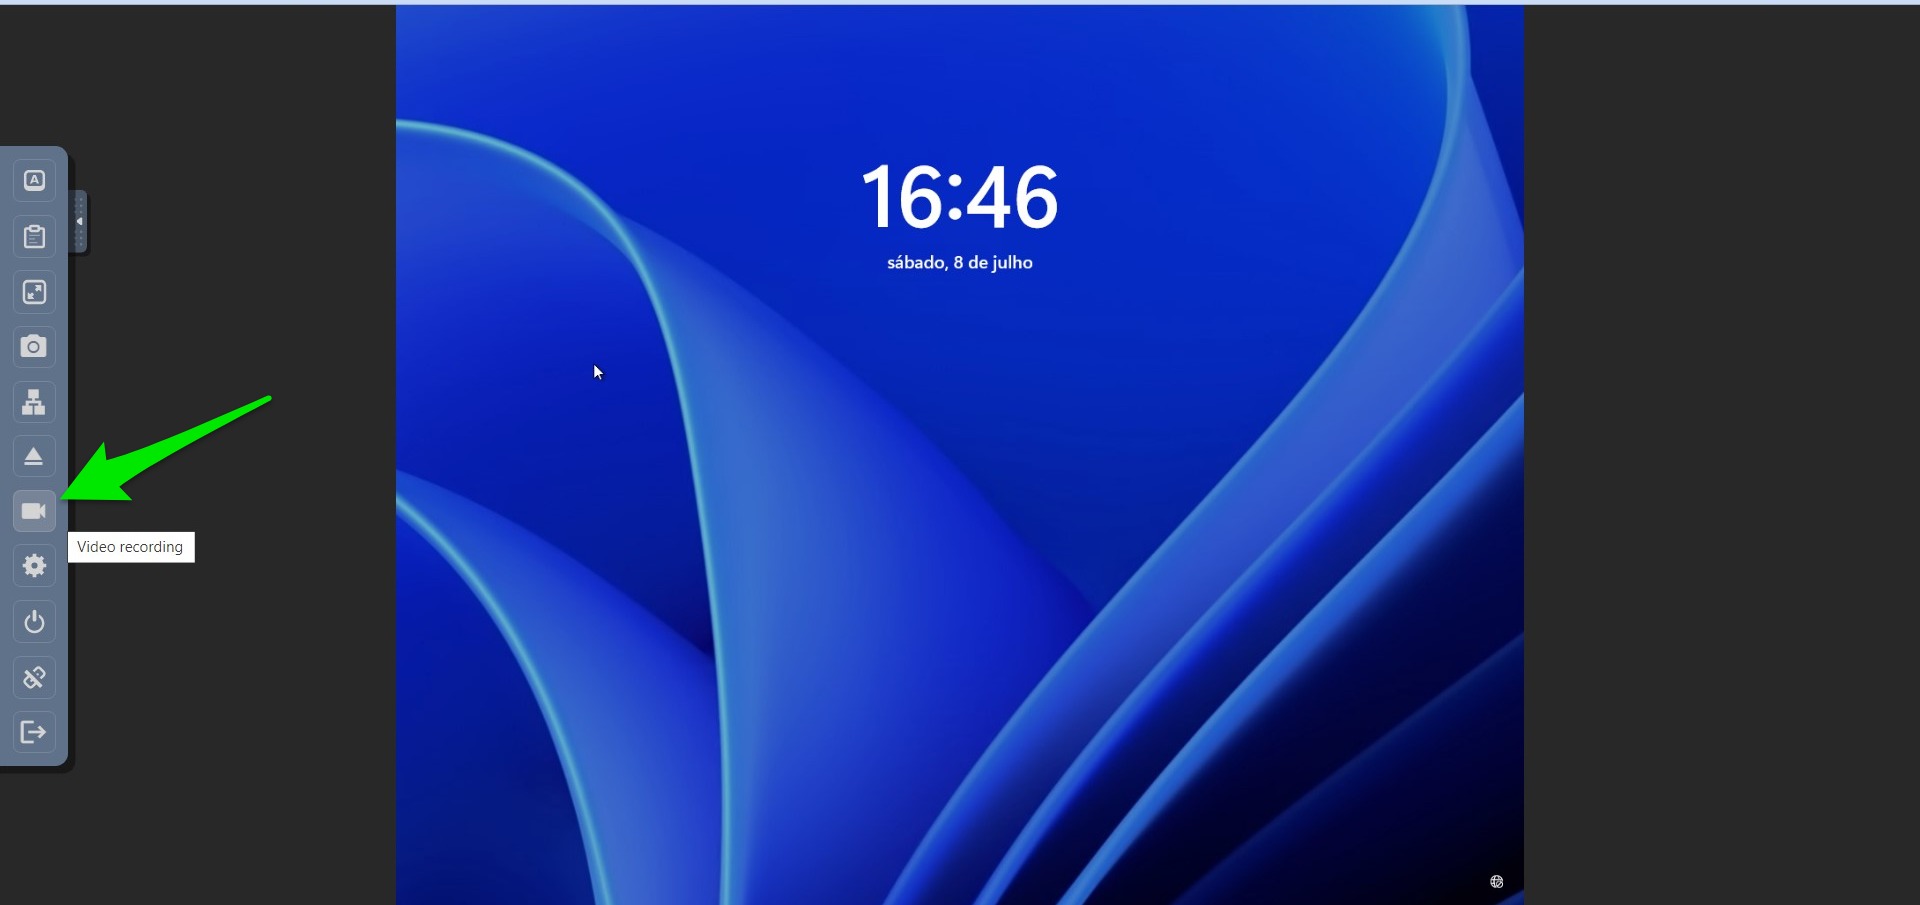
The recording is in progress; it can be up to 3 hours of recording before the video stops. The “rec” animation on the top right will show that the recording is in progress on the server.
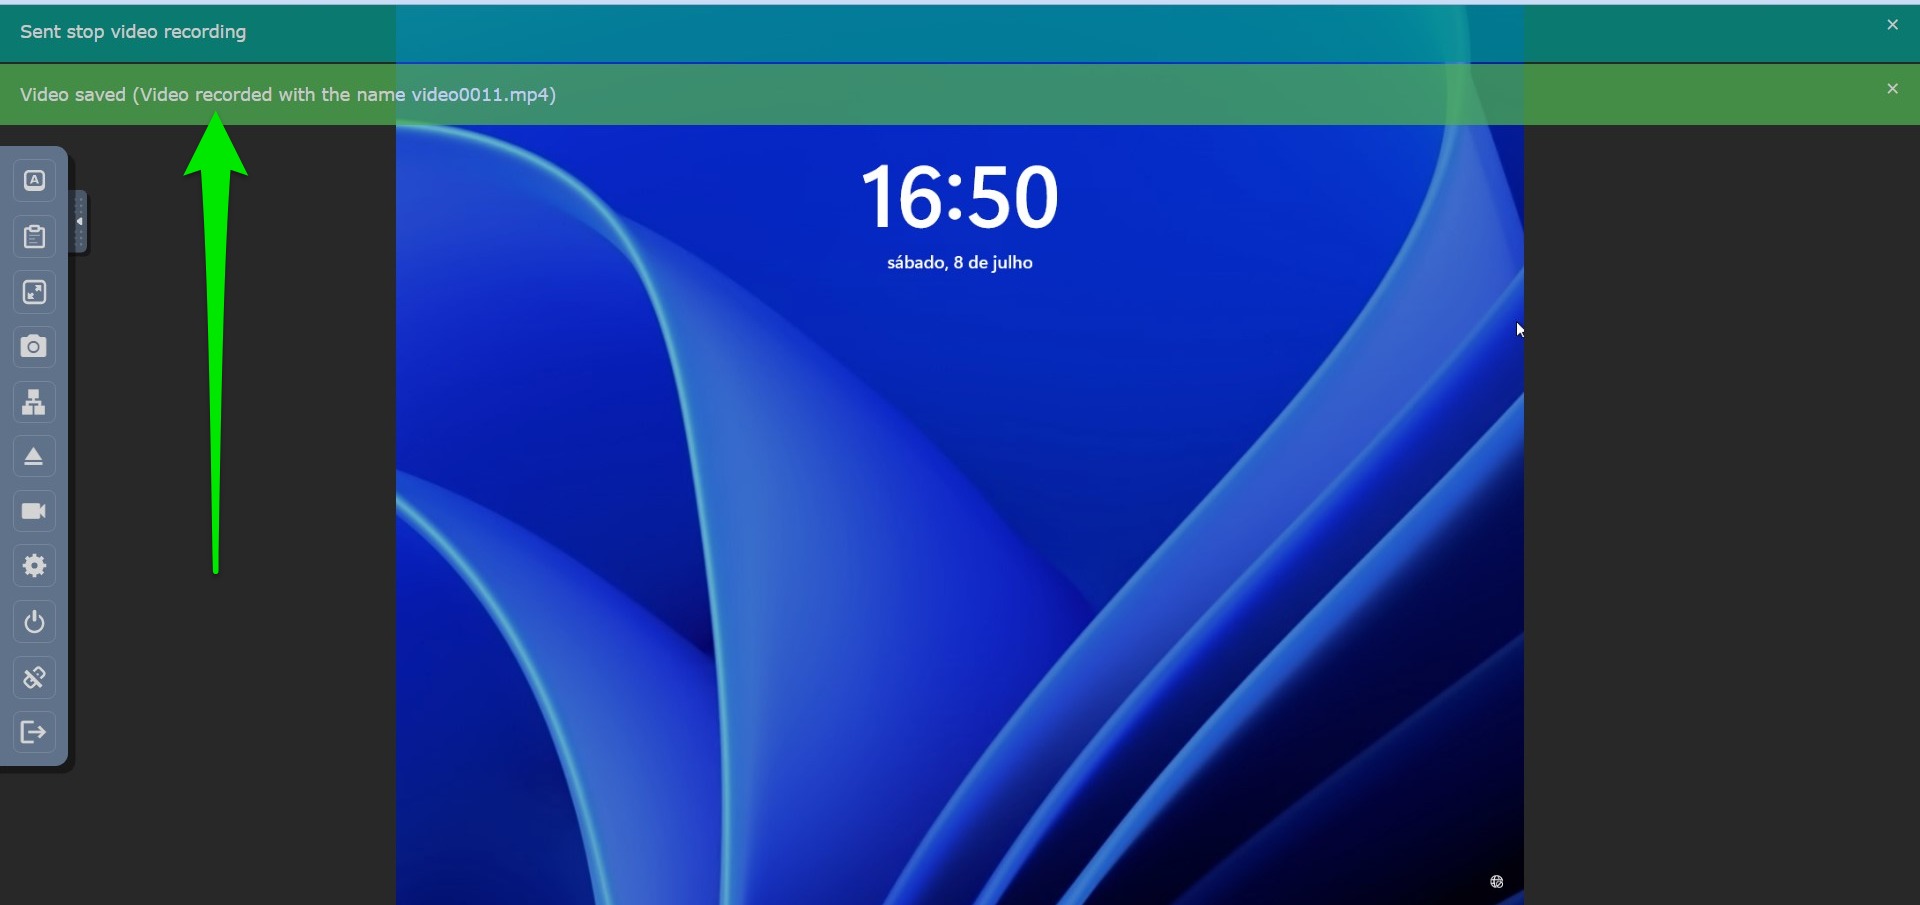
You will see two notification messages. The first one says, “Sent stop video recording,” to indicate that the video has stopped recording. The video has to be processed on the server to download. When the video is completed on the server, you will see a second notification message stating, “Video saved (Video recorder with the name videoNNNN.mp4)”, where NNNN is the video number. Please note down this number.
Now, press the “Download” button. You should now wait until the download is ready. It will start download automatically, so please do not close the webpage. The video preparation time and the download time will directly depend on the video size.
Video Recording Sound
The current version of the video recording feature within the forensic virtual machine does not include sound. It captures only the visual interactions and activities within the system. We recognize the importance of sound in some investigations, and we are actively working to add this capability in a forthcoming version of our software.
In the meantime, if sound recording is a necessary component of your forensic analysis, we advise utilizing third-party tools specifically designed for video and audio capture. Please ensure that any third-party tool used complies with your legal and organizational requirements.