Deletion of ForensicVM at Investigation Conclusion
Once your forensic investigation comes to an end, it’s a best practice to eliminate the ForensicVM to free up resources and maintain system hygiene. Here’s a detailed guide on how to accomplish this:
Initiate the Deletion Process
Begin by clicking the red “Delete VM” button. This action will instigate the process to remove the ForensicVM.
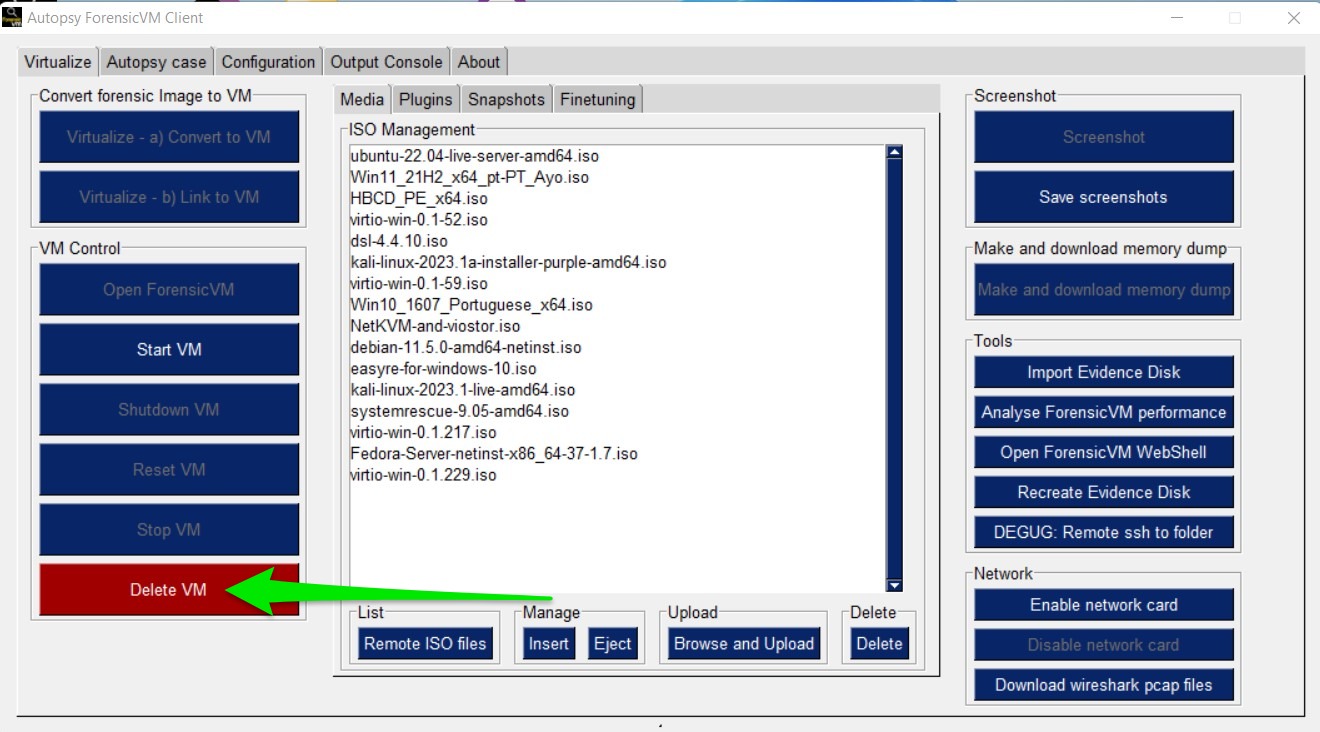
Fig. 181 Clicking the “Delete VM” button
First Confirmation for Deletion
A confirmation popup box will emerge, requesting validation of your decision. Click the “Yes” button to confirm your intention to delete the VM.

Fig. 182 First confirmation popup
Second Confirmation for Deletion
An additional confirmation popup box will appear to double-check your decision. This is to ensure no inadvertent deletions occur. Once again, click the “Yes” button to proceed.
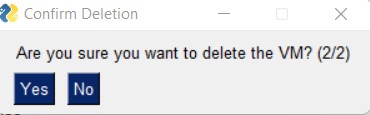
Fig. 183 Second confirmation popup
Deletion Success Confirmation
If the ForensicVM is successfully deleted, a final confirmation popup will appear, mentioning the UUID of the VM that was eradicated. It serves as a record of the recently deleted VM.

Fig. 184 Deletion success confirmation